Home
Williams De Icer Pinball
Nov. 16, 2009
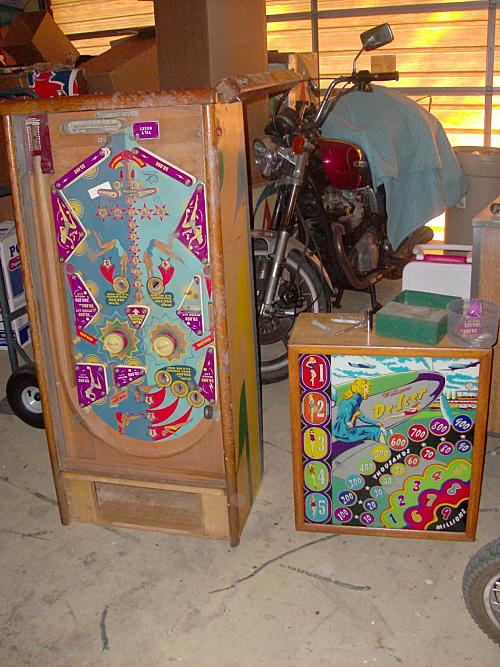
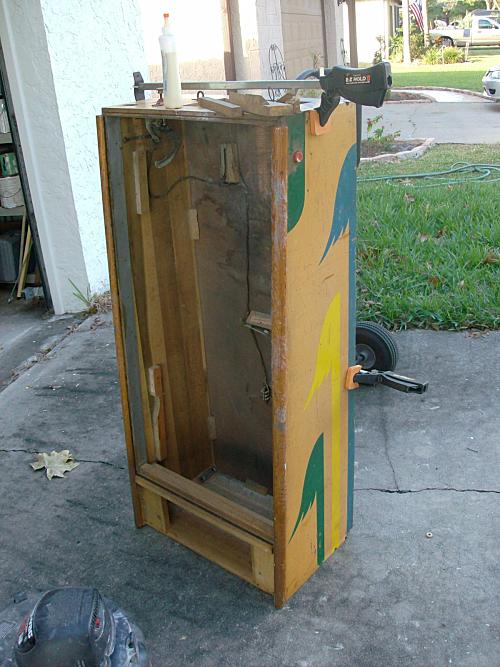
This machine had been kept in storage for many years. It found a new home with me recently and is about to get a new lease on life. The cabinet separated in one corner. Most of the original parts are here except it's missing the shooter of all things. May have been removed for shipping purposes - I'll never know. It was great to see the backglass in near perfect condition as well as the playfield. One plastic was cracked in half. I'll be working on this one over the next few weeks hoping to have it ready for Christmas.
Nov. 17, 2009
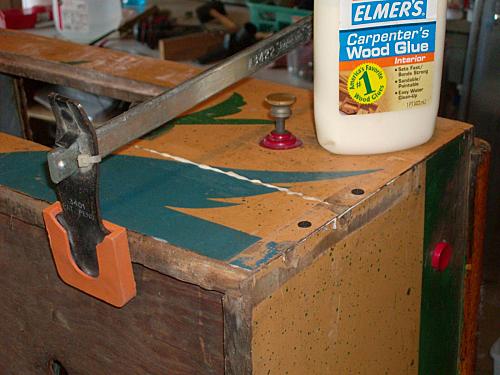
Did a little more today. The front of the cabinet had some damage. The corner separated and the front wood panel split. Not too serious. A little Elmer's and some clamping and we're good.
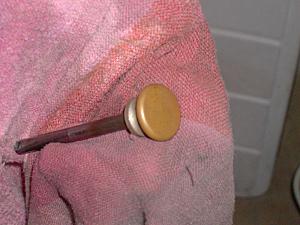
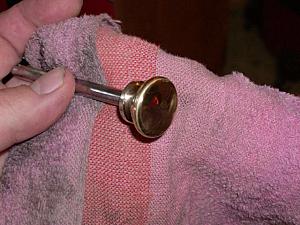
This is the ball lift knob. Since I had it out to repair the cabinet I went ahead and polished it. Nice and shiny now.
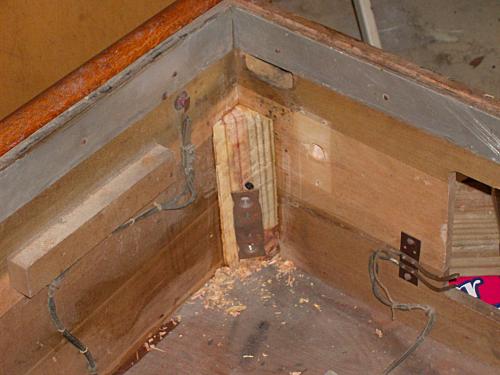
Out of sequence but here's the first part of the cabinet repair. The bottom plywood fell out and warped. It fell out because the cabinet had separated and it had nothing to hold onto. Most of the wood shims inside the cabinet had fallen off. I reglued those also and had to make a new front right leg nut shim shown below.
The new leg nut shim in place ready to put the legs on the machine and get on with the fixin' part.
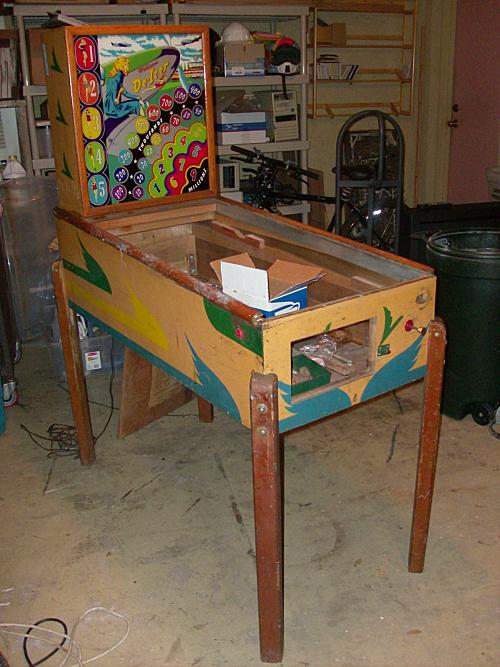
The cabinet and head mounted (finally).... nice, eh?
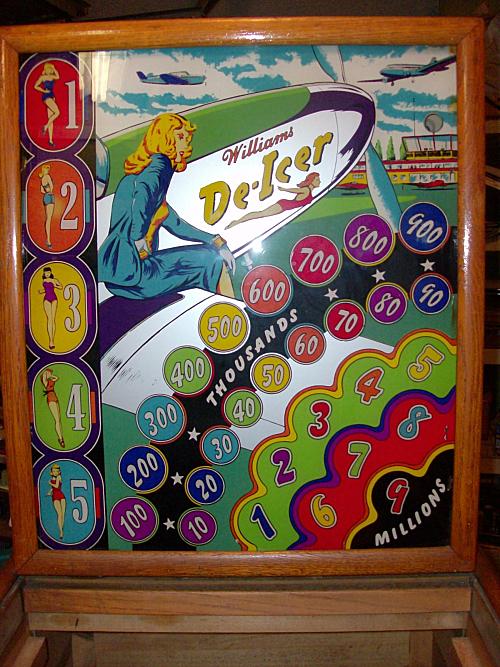
... and look and that beautiful backglass....
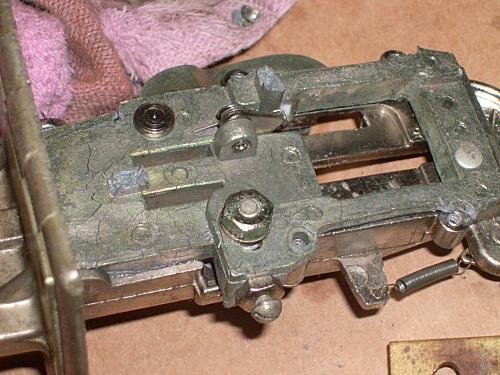
And, while I have it out, here's a nice shot of the under the playfield mechanics. In newer machines (newer than 1949) the mechanics are both on the playfield underside AND inside the cabinet. These old machines are not nearly as complex. One of the things I noticed was that the flippers are linked and not independent like you'd expect. Look at the large black coil in the upper right of the photo and the associated linkage.
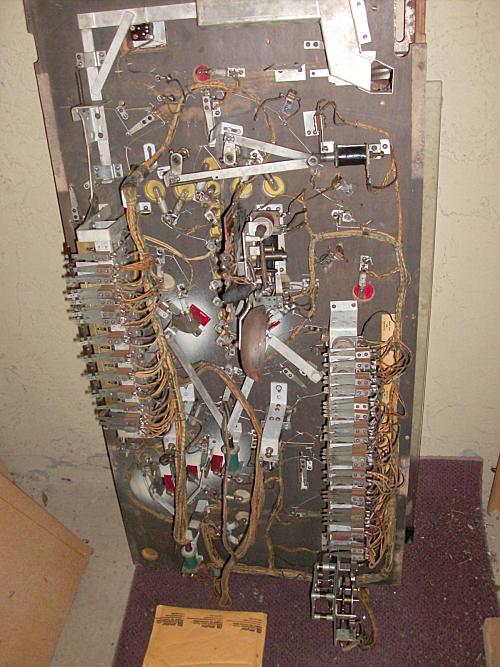
Although it's not shown here I went through each and every contact point beneath the playfield and disassembled and cleaned the stepper. Only found two not contacting correctly. Overall everything looked nice and clean. I like that.
Dec. 4 2009
The stepper in the backbox were binding. I disassembled them completely and cleaned everything. Some of the springs had been 'tightened' to overcome restrictions in a previous life. Again very clean.
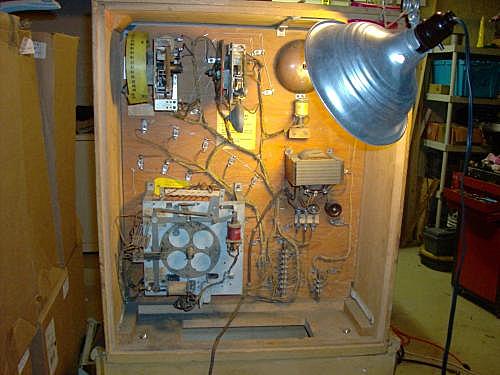
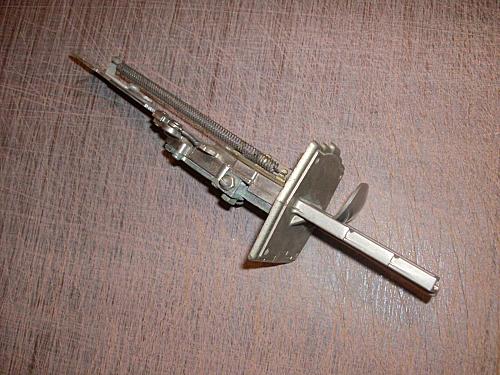
Here's the main stepper assy. Little dirty for age.

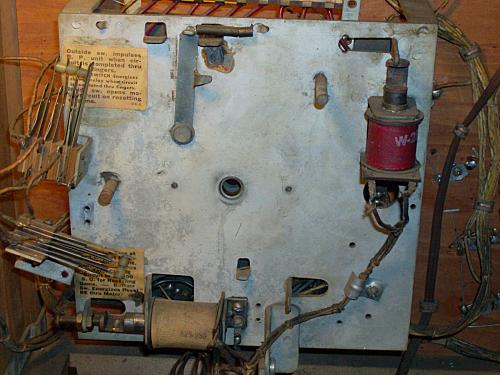
The same stepper stripped down for cleaning. After cleaning and assembly it work like new. Don't have a picture here but the coil spring in this older game is actually INSIDE the plunger and coil hidden from view instead of outside like everything else I've seen.
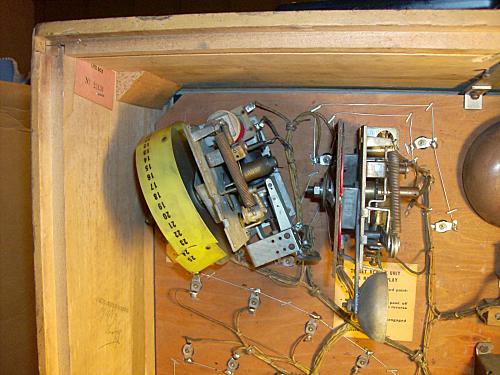
Aw, what a shame. The original credit indicator strip was cracked. Normally I'd make a new laminated strip but for this one I just cleaned and taped it. The clear tape held fine. I may make a strip later but I'll need a pop rivet tool.
I love these coin plunger mechanisms. Made you feel like you were part of the machine. In this machine when you push the coin the plunger pushes a lever which manually resets the relays. Talk about being interactive with the machine. This one was bent so you couldn't push it in - probably stepped on when the coin door was off the machine.
The back side of the coin mech was irreparably damaged. You can see the cracks in the brittle metal. When I took the screws out it fell into pieces in my hand. I opted to remove this plate and just straighten the mech. The mech now works nicely - no coins required.
I got all the way to stripping the playfield today. I cheated and played a game earlier but it was rough.
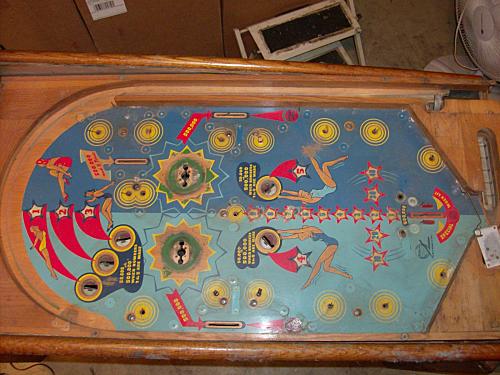
I'm not exactly sure what this stuff is around the inserts.Can't get it off, though. Perhaps someone tried to fill some inserts with crazy glue to smooth them out - I've heard of that. Not really sure what to do here. I'll think about it.

To be continued ...